
Today I am going to share how I create my hand cut titles. Hand cut titles have been my favourite way of creating titles lately on my layouts.
First I will share my layout. I used a combination of papers from Pink Paislee Summer Solstice and Shimelle for American Crafts to create the base of my layout.


Now comes the fun part, adding my title and embellishments.
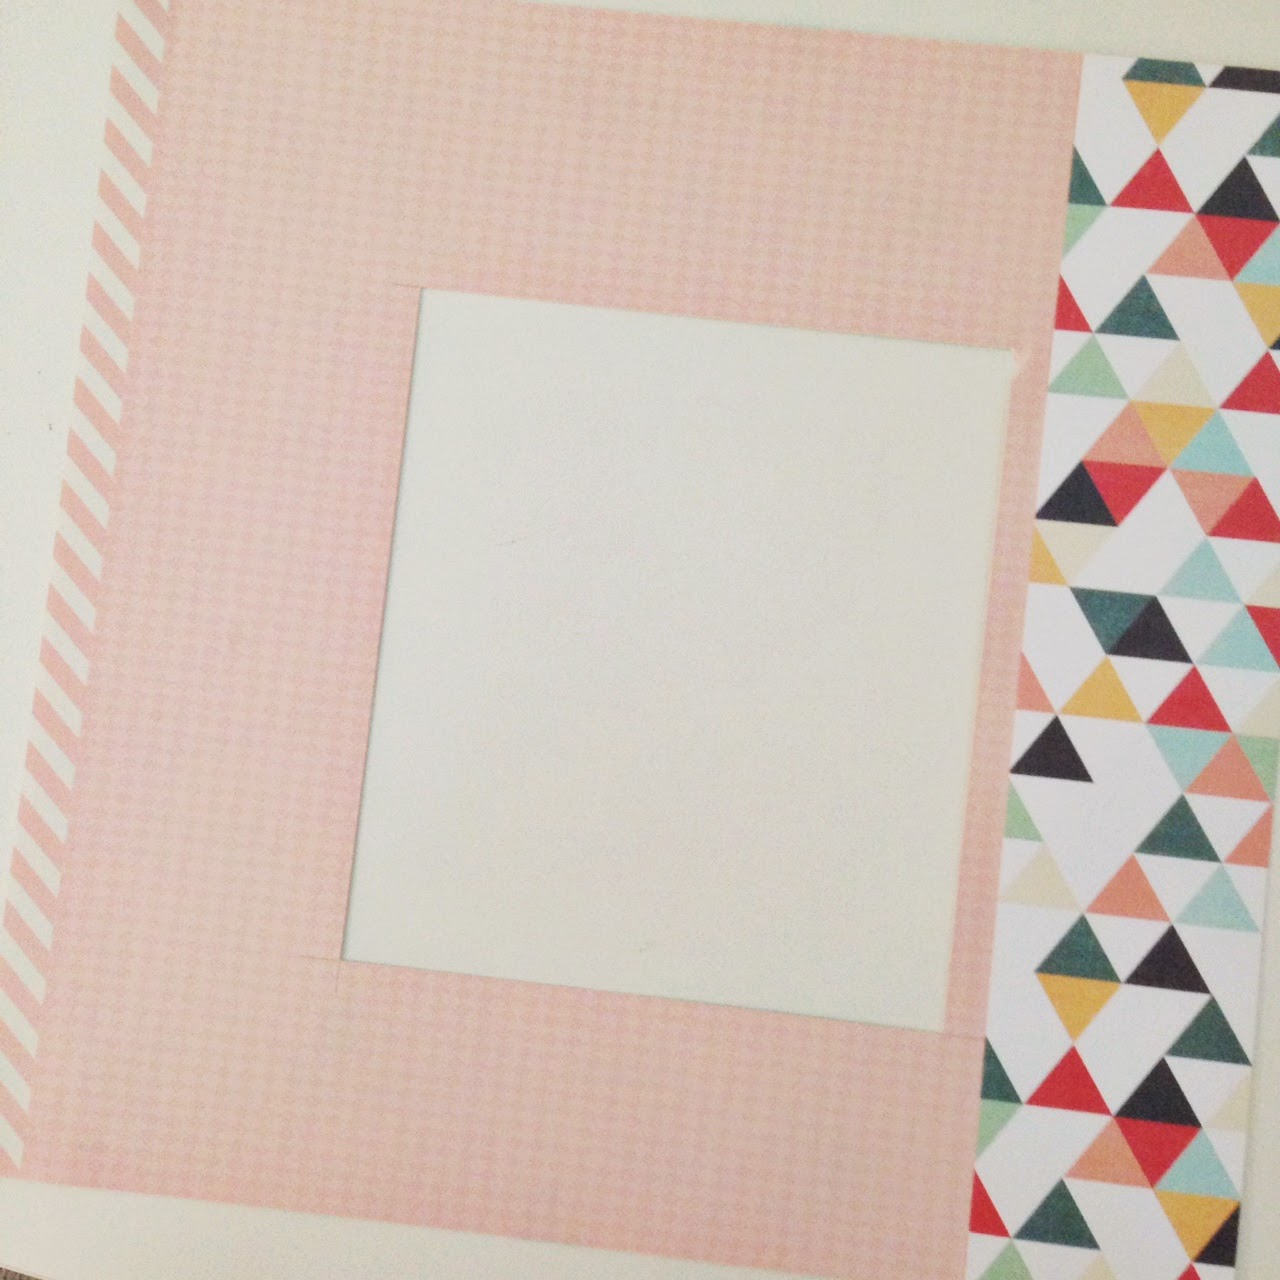
Step 1. To coordinate the colours in your title to the back ground, trim a square of pattern paper from the centre of your base pattern paper. Be sure to place the blade in the centre of your pattern paper not the edge to make your cut.
Step 2. Using a lead pencil draw the letters for your title on to the trimmed pattern paper. I prefer using capital letters because there are more straight lines which are easier to cut.

Step 3. Using a sharp pair of scissors cut your letters out. Erase any pencil lines still visible.

Step 4. For some added texture sand the edges of the letters.

Step 5. Add a small piece of adhesive to the middle of each letter and when dry machine stitch through each letter to complete.

Kim used:


.png)


I received the prize, thank you so much!
ReplyDeleteI was away for my honeymoon, now I'm come back and ready to play again with you :)
so much fun!!